Building a Custom Time Tracker
I needed a physical time tracker that could sync with a custom web system. Instead of using apps on my phone or computer, I wanted something dedicated and tactile.
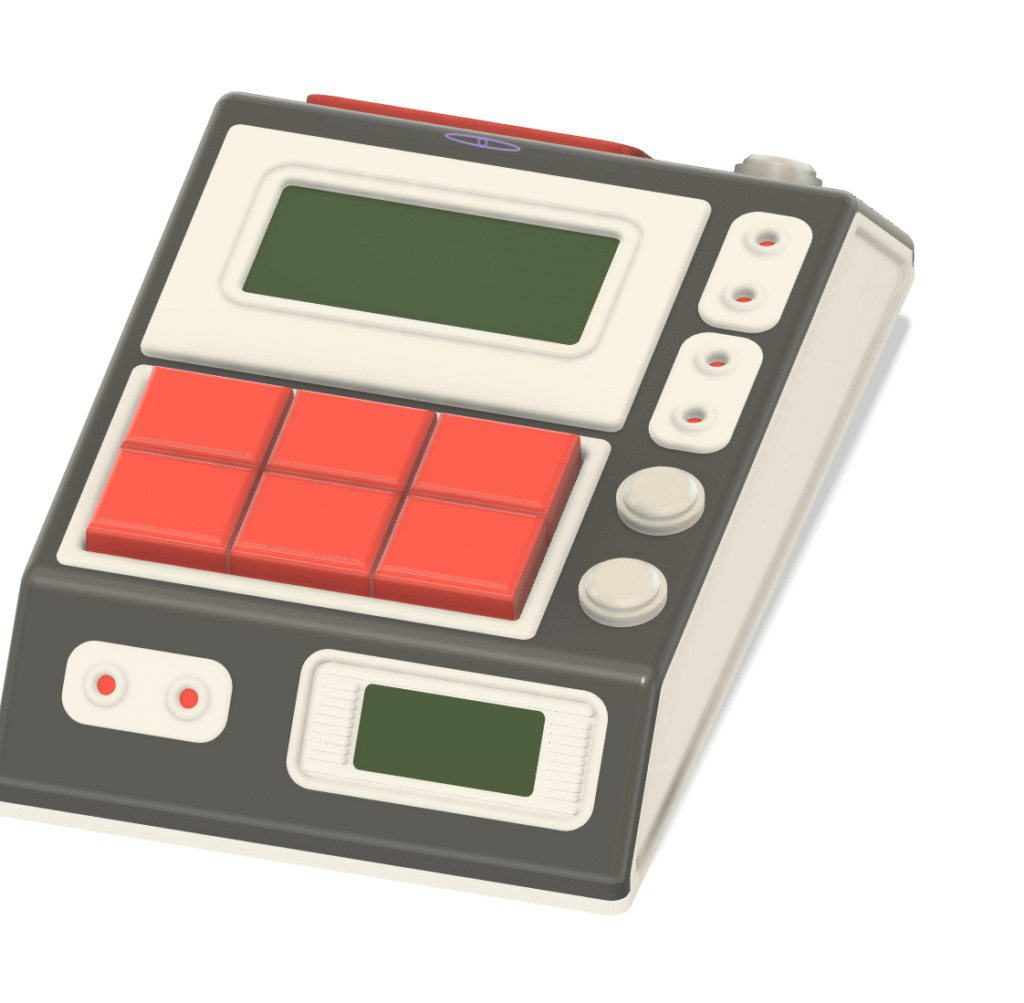
The Case Design
I wanted something that looked futuristic, taking inspiration from Star Trek TNG aesthetics. The case needed to house all components while maintaining clean lines and purposeful geometry.
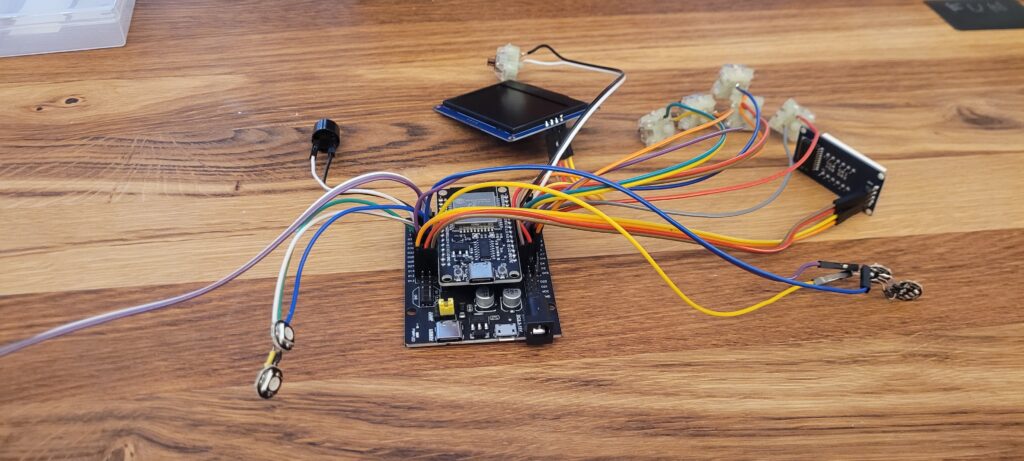
The Hardware
The device centers around an ESP32 microcontroller with WiFi capability. It connects to my custom time tracking system running in the cloud and handles all the local interactions.
Components include:
- Multiple buttons for project selection and timer controls
- Black and white OLED display showing current project and elapsed time
- Built-in timer system
- Buzzer for audio feedback
- Custom 3D printed case
20 Iterations Later
The biggest challenge was the case design. My first attempts tried to fit everything perfectly in one piece. This led to many failed prints with misaligned buttons, wrong display fits, and poor tolerances.
The breakthrough came when I switched to modular design. Instead of printing the entire case at once, I created separate testable modules:
- Button cluster module
- Display mount
- ESP32 mounting system
This approach let me iterate on individual components quickly before integrating them into the main case.
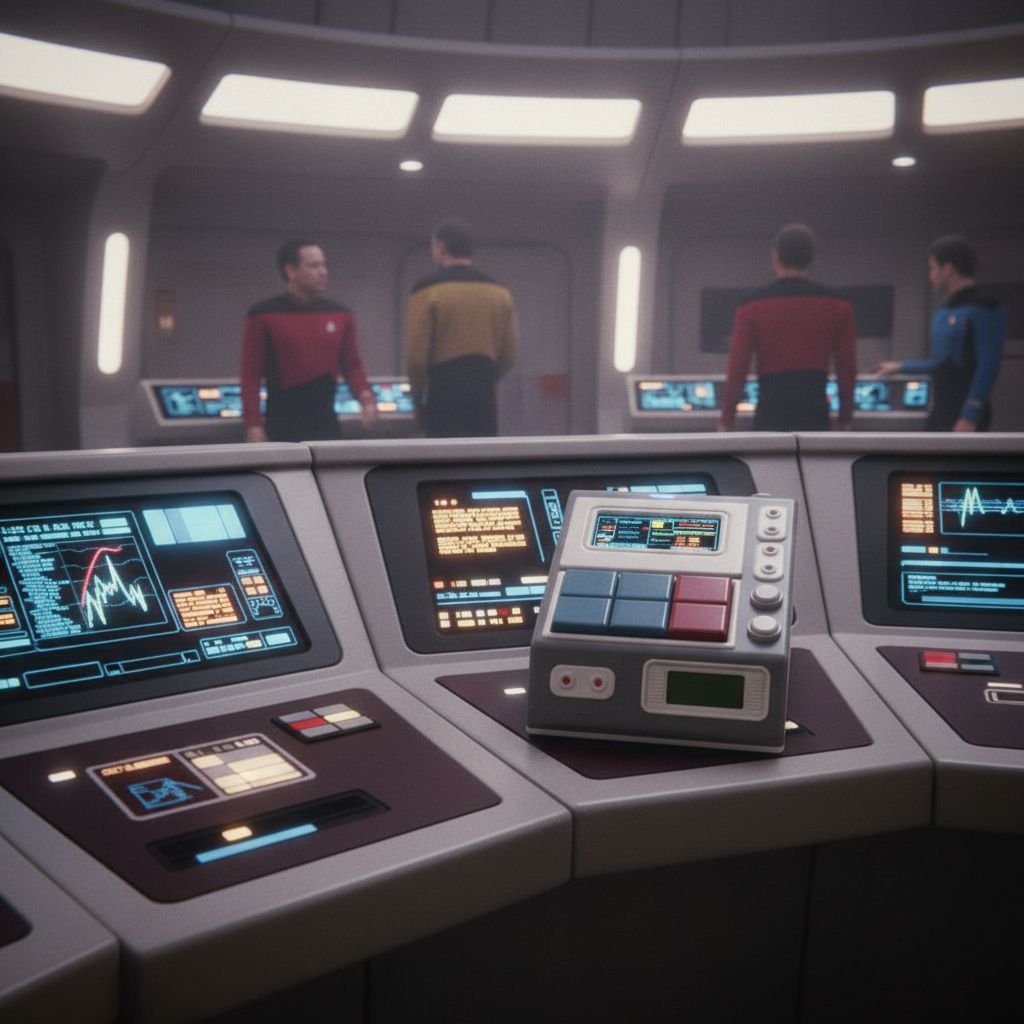
Inspiration
How it could look like on the Enterprise bridge 😉
What I Learned
Design modular components first, then build the case around them. It’s much easier to test and iterate small pieces than to reprint an entire complex assembly every time something doesn’t fit.
The device now sits on my desk, tracking time across projects and syncing everything to the cloud for later analysis.